
After I graduated from film school I find that I get invited to a lot of Oscar Parties. The reason my friends want me around when watching the Oscars is that they can bombard me with questions like: “What is the difference between Sound Editing, Sound Design and Sound Mixing? What is the difference between Production Design and Art Direction?” I do enjoy those questions because for once, they make me feel like the smartest person in the room.
Today I want to answer the age-old question: What exactly is color correction in film and television. I am going to explain it in term that I can understand. So leave your seat belts unbuckled, because it is an easy ride down filmmaking lane.
Have you ever used a filter on instagram? or played with colours and exposures on Photoshop? If so you already understand the principles of colour correction for film. Imagine choosing instagram filters for videos, but with 10 times the controls.
The best way to explain is to describe my workflow when I colour-correct a film. Other people may have better and more efficient ways of doing things. Feel free to experiment yourself and develop your own ways. One cautionary note is that colour correction is usually done after Picture-Lock. This is because we don’t want to spend hours correcting footage that may be cut from the final project. Sound, titles, visual effects can be done afterwards but the director has to sign off on the picture before we correct for colour.
Step One: Decide on the Look of the film.
Step Two: Bring the picture to the look.
Step Three: Review and Re-adjust
Step Four: Walk away
Below is what each step entails.

Step One: Decide on the look of the film. I look at many paintings and find the ones I like. I keep the story in mind when browsing. I use Pinterest for this task. For my project “The Drum Maker” I chose a painting of a group of Indians sitting by a fire. It has foreground, mid-ground and background. It also has a good range of colours. Most importantly it has the right feel for me and matches the story of my film, which is about an old Indian drum maker. When audience walk away from my film I want them to leave with the same feelings and emotions this painting is conveying. For longer films you may choose multiple pictures for different story points of the film.
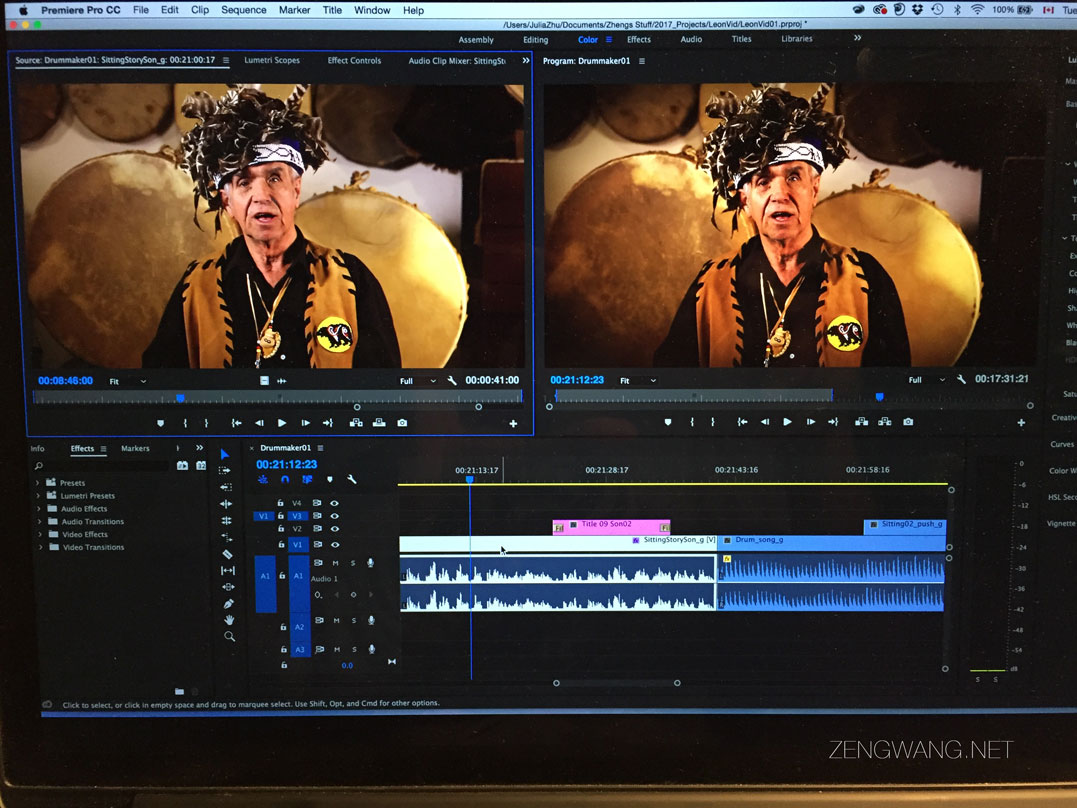
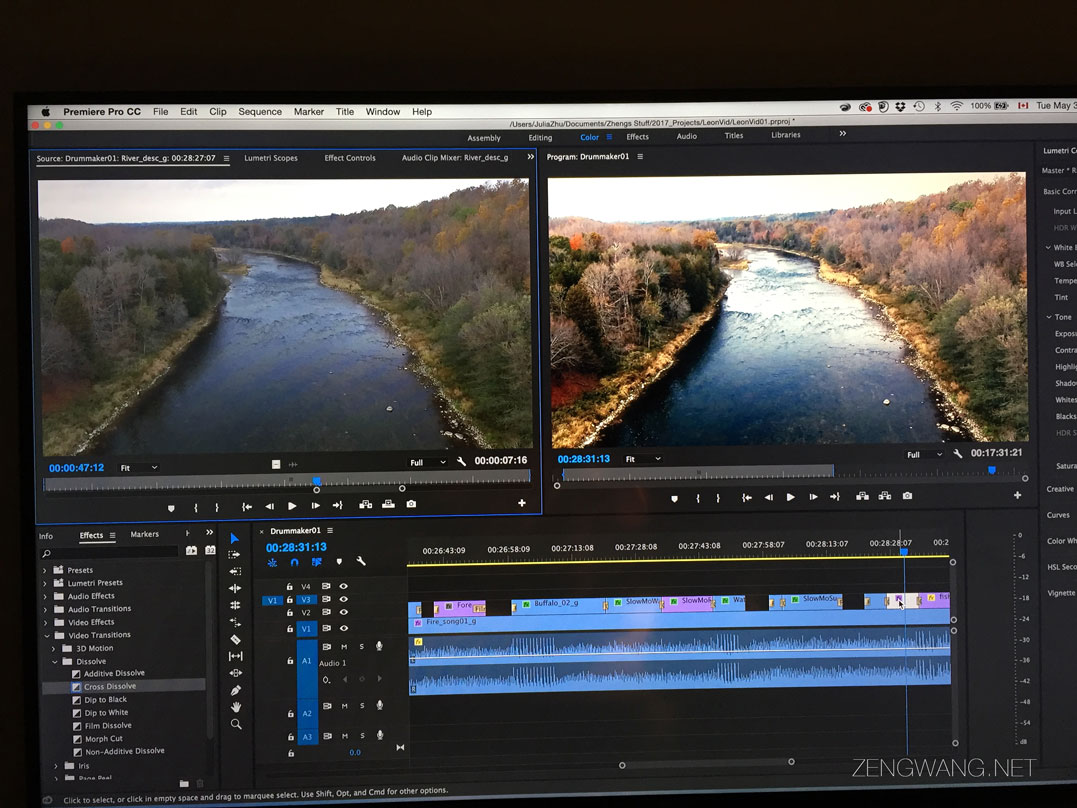
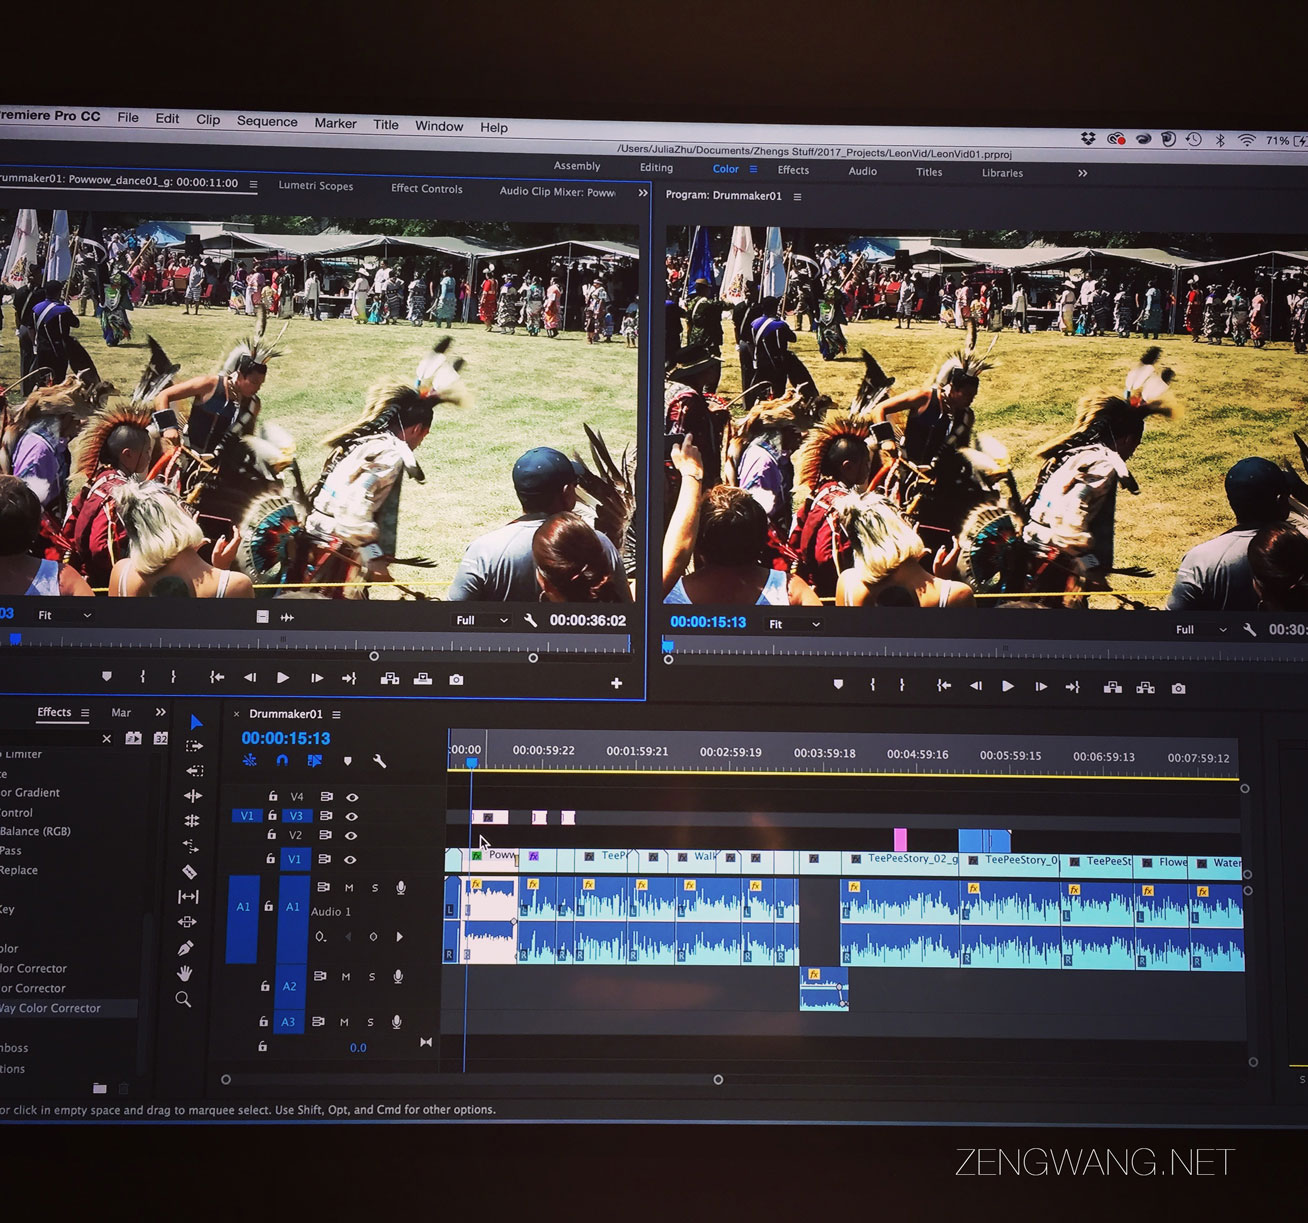
Step Two: Bring the picture to the look. To do this I use the colour correction functions of Adobe Premiere Pro. The CC version of this software is pretty amazing and easy to use. For The Drum Maker I darkened the shadows (crushing the blacks); brought out the yellows and reds (warmed up) and increased the contrast a little (increase grittiness). Don’t be frustrated by all the controls, just stick to the ones on the main settings. Keep reference back to the painting you chose. I find it helpful to have the painting right beside my main screen. Watch online tutorials when you don’t know how to do something, but don’t let them overwhelm you. In the end, you just want to achieve the target look. There is no best way to do it.
Step Three: Review and Re-adjust. After working on the project for a few days, I would rest my eyes for a couple of days and come back to the project. That is often when I decide I went a bit too far with the corrections. I tend to cull back some of the parameters to return the film back to a reality-level that people will accept. This is a matter of artistic taste so it is very organic. Colour correction is a back and forth process until you arrive at the point that you are most happy with.
Step Four: Walk away. This is actually a very important step. As a filmmaker I always have the tendency to be a life-long parent to my film child. I do not let go of my film easily. The perfectionist part of me just want to keep re-watching and tinkering all week long. Be cognitive of this pitfall. As an artist you should be able to step away, step back, take a final look and say: “I think that about does it.” Click on that Render button for the final time and feel proud of your accomplishment. Why should you walk away? Because you next project awaits!
I hope I answered your questions about colour correction in film and TV. This is a very down to earth explanation. If you want to go deeper into the technical side of the task there are many good tutorials on Youtube. Pick and choose that ones that suits your needs and experiment. THERE is NO RIGHT WAY! Just more efficient ones. So eventually you’ll get there if you keep trying.
Have fun and share your film with me. I’d love to see your projects.
For more easy tips and tricks, subscribe to my blog by clicking the “Follow” button on the main page: zenwang.net
